If, however, your protected node’s server failed, you need to perform a bare metal restore (BMR) as outlined in Perform Bare Metal Restore. You can choose to replace the current file, folder, or drive, or to store it on any protected node or standalone server so long as it is reachable from your network.
|
1.
|
Log on to the Appliance’s onQ Portal.
|
|
2.
|
|
3.
|
In the Available Snapshots pane, expand the folder for the protected node.
|
|
•
|
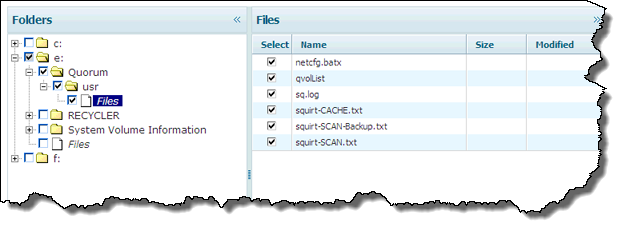
Click Files to display the individual files in the content pane to the right. Then, in the content pane, you can select the individual files that you want.
|
|
•
|
You want to restore to a Protected Node. Do so if you want to restore to the same or other Protected Node.
|
|
•
|
You want to restore to a Standalone Server. Do so if you’d like to inspect the files before you restore a protected node with them.
|
|
7.
|
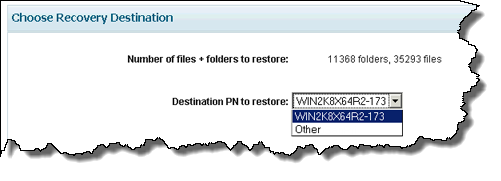
Based on your decision in Step 6, in the Destination PN to restore drop‑down, specify the recovery destination — the host where you want to store the retrieved files. The files will automatically be saved to:
|
|
•
|
(Windows) - C:\onQRestore.
|
|
•
|
(Linux) - mountpoint/onQRestore. For example, /onQRestore if you chose / or /boot/onQRestore if you chose /boot.
 |
|
•
|
|
•
|
|
8.
|
|
a.
|
Download and execute one of the following files on that remote host, depending on your operating system.
|
|
•
|
(Windows) WVhdS. You need only download and execute this file on the remote host as the example below shows. From a DOS prompt, run the following command:
|
|
# WVhdS_version.exe 5000 0 restore-location
|

|
•
|
(Linux) onQFLRSelf.sh. Automatically untars a file to the recipient that you define:
|
|
# cd <restore-location>
# wget http://<OnQ-IP-address>/onQFLRSelf.sh
# sh onQFLRSelf.sh
|
|
9.
|
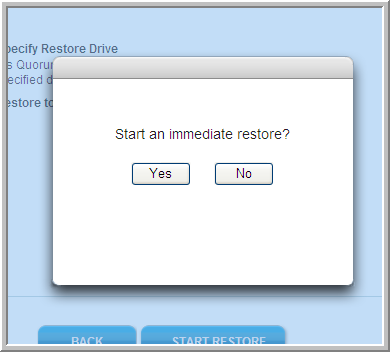 |
|
|
PN hostname | Specify Restore Drive
|
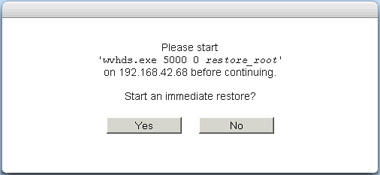 |
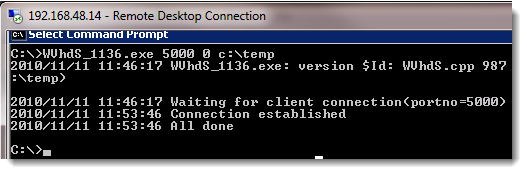
Afterward, the onQ Portal returns you to the main RESTORE page.
|
•
|
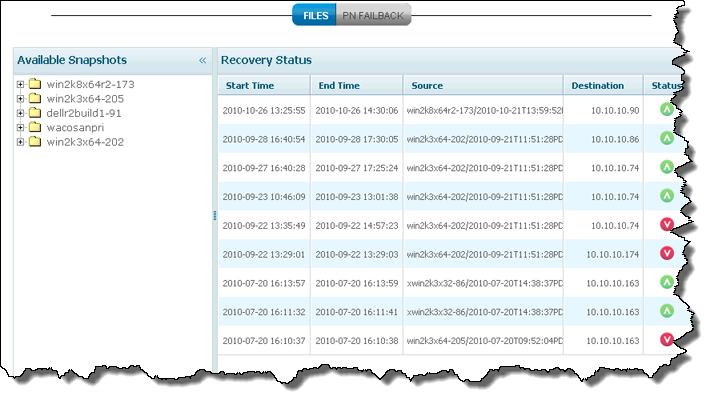
The left pane (Available Snapshots) - shows available snapshots, as folders, listed in a hierarchical structure by node, date, and time.
|
|
•
|
The right pane (Recovery Status) - shows your previous efforts at retrieving files from snapshots. The carat to the right symbolizes the result of each past restore attempt.
|
 |
||
|
|

|
b.
|
(Standalone Server) Verify that the restored files appear in the expected destination.
|