|
•
|
USB. This media is used for most installs. If for any reason QUARK cannot inject the necessary drivers, you can add drivers to this USB for use during the BMR without needing additional media.
|
|
•
|
ISO. Burn this ISO to a CD‑ROM or, in the case of virtualization, save this ISO to your network and point to it from your virtualization infrastructure.
|
|
1.
|
Log on to the onQ Portal.
|
|
2.
|
|
3.
|
|
•
|
USB method. Select the Quark_usb_BCV-<release>-<date>-<time>.zip, Download, then save the .zip file to a USB key.
|
|
•
|
ISO method. Select the Quark_BCV-<release>-<date>-<time>.iso, Download, then save the .iso file to your virtualization infrastructure, or burn it to a CD-ROM.
|
In this procedure, Recovery PN (also called target) refers to the server to which you are restoring. This Recovery PN can be a physical or virtual machine.
The Start BMR page appears.
|
4.
|
From the Start BMR page, allow the QUARK wizard to check for basic network and disk controller drivers on which QUARK depends, then Next.
|
If the QUARK wizard detects a missing driver, the Add Drivers page appears.
|
Note: To manually launch this Add Drivers utility, run the following command from the command prompt:
# QUARK_Wizard.exe AddDriver.
|
|
5.
|
|
•
|
|
•
|
|
6.
|
|
•
|
If the wizard detects a DHCP server, the wizard displays the assigned default IP address and netmask in the Network Configuration page.
|
|
7.
|
(Optional) In the Network Configuration page, change the default network configuration, then Next. The Log on to onQ page appears.
|
Select the Set Static IP check box to set the default IP address to a static IP.
|
8.
|
In the Log on to onQ page, type the IP Address and credentials of the onQ Appliance that manages the Recovery PN’s snapshot to which you want to restore, then Next.
|
If this process fails, browse the list of error messages in BMR Errors to correct the problem.
|
9.
|
In the Select PN page, select the restore type and the Recovery PN from the drop-down list of PNs that the onQ Appliance manages, then Next.
|
If the onQ Appliance doesn’t have the incremental backups that are needed to perform the restore, the wizard displays the Full BMR option only; otherwise, both options are available.
|
10.
|
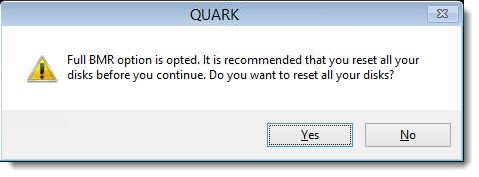
In the Select Snapshot page, select the snapshot to which you want to restore the Recovery PN, Next, then Yes to reset the disks.
|
|
•
|
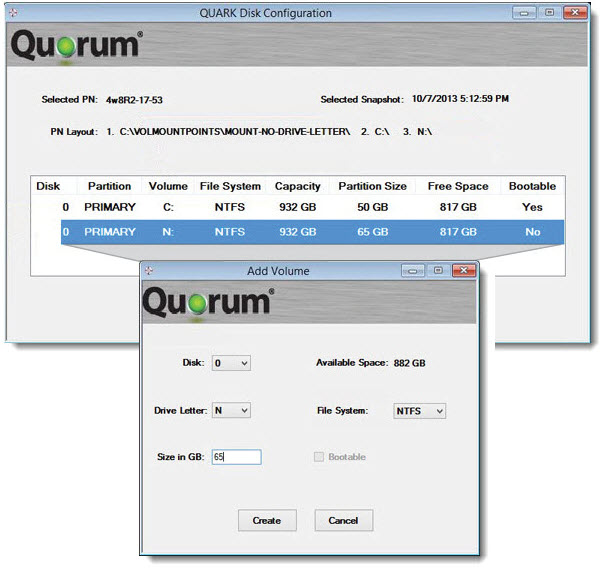
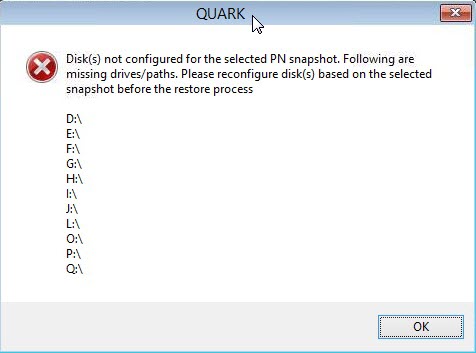
(Full BMR) The following dialog appears, and the The QUARK Disk Configuration wizard launches.
|
|
b.
|
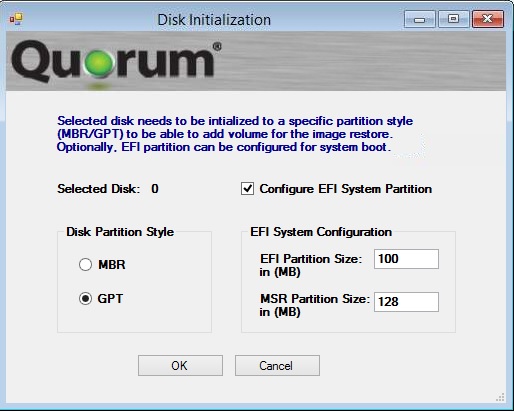
For the boot drive, the QUARK Disk Configuration wizard prompts you to specify the partition style:
|
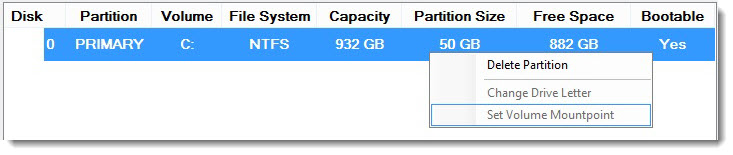
If you want to delete a volume, right‑click on the volume and Delete Partition.
|
c.
|
|
# QUARK_Wizard.exe showDiskConfig
|
The PN Restore Progress page appears.
If the onQ Appliance detects a problem, the QUARK wizard aborts the BMR, then displays a status message. Browse the list of error messages in BMR Errors to correct the problem.
|
a.
|
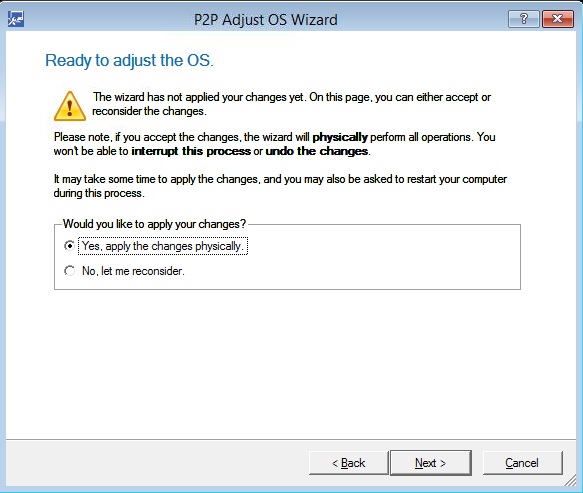
From the P2P Adjust OS Wizard, select the Recovery PN’s operating system and, when prompted, choose Adjust the OS to the new hardware automatically, then Next.
|
|
b.
|
|
c.
|
|
•
|
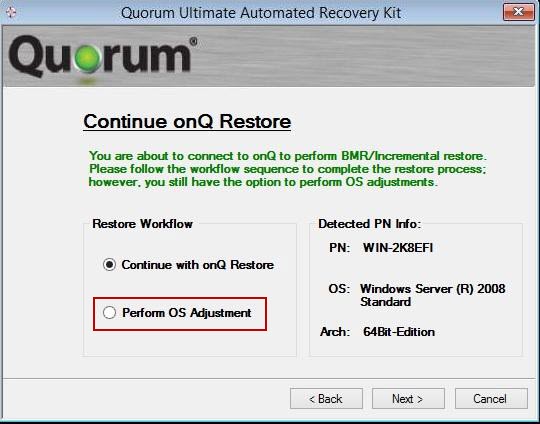
If you reboot the PN without adjusting for new hardware, you can perform the adjustments after the restore completes. Simply launch the wizard again by repeating Step 3 and Step 4, then select the Perform OS Adjustment workflow from the Continue onQ Restore page.
 |