onQ supports both agent‑based and agent‑less PNs. Nodes that are not hosted by VMware require that an agent (onQ Service) be installed. Agent‑based enrollment enables you to use all of the operation and monitoring features that onQ has to offer.
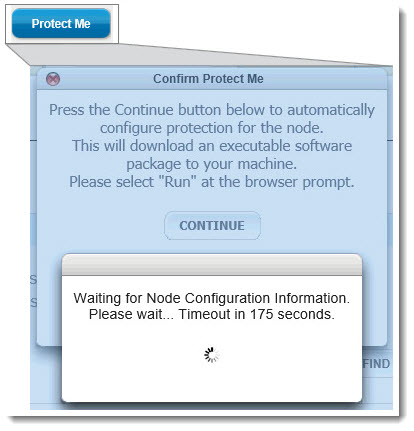
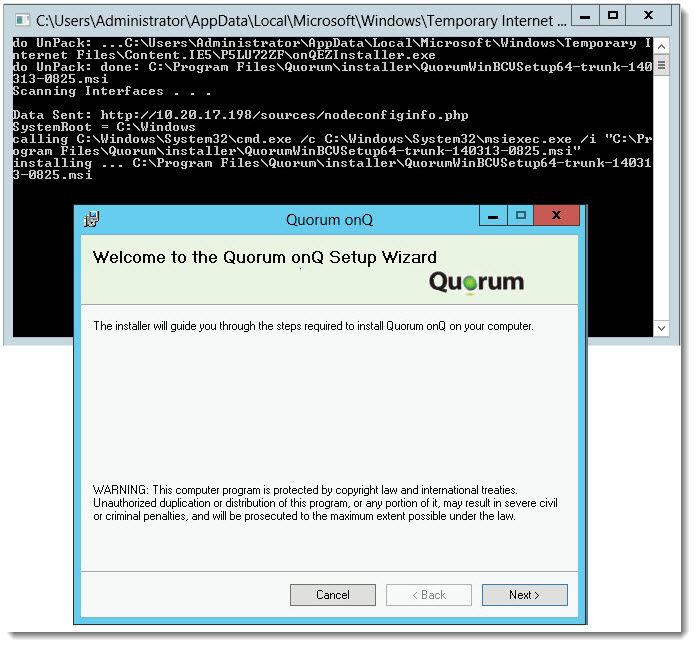
Each agent‑based PN must be “enrolled” with the onQ HA Appliance using the Protect Me button and the onQ EZ Installer, which analyzes your PN and pre-configures it on the onQ Appliance.
|
Warning: In almost all instances, Non‑NTFS partitions are not supported for VSS‑based snapshots. Do not protect such partitions with onQ. Protecting such non‑NTFS partitions might result in the Quorum agent terminating the backup. The only exception is the volume configured with REFS that is new in Windows Server 2012.
|
|
Note: Even if you added the new node manually and it appears in the list of protected nodes, you must enroll the node before the onQ Manager can protect it. Previously protected nodes that are still running the onQ Service do not need to be enrolled; in this case, simply add the nodes manually, then start protection.
|
|
1.
|
|
2.
|
From that server, launch a supported browser (see Browser Support), then log on to the HA Appliance’s onQ Portal as varadmin.
|
|
3.
|
|
4.
|
|
5.
|
When prompted by your browser, click Run, the Run again to confirm the Unknown Publisher. If you’re using Firefox, you need to double-click on the executable before you can run the installer. 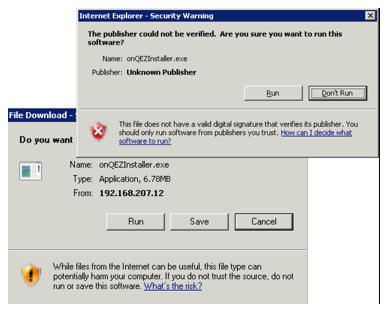
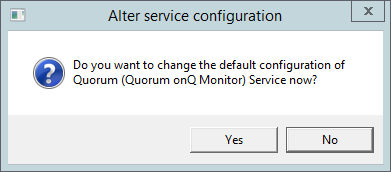
In the Alter service configuration dialog, do one of the following:
|
•
|
|
•
|
Click Yes, then, in the dialog that launches, specify the account and credentials that you want the service to use, then OK. For example, you can configure the service to run as administrator. If you want the service to run as the domain administrator specify the domain:
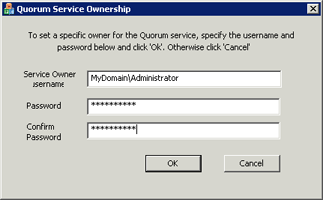 |
A service running on Windows generally runs as a user account, usually Local System by default. However, you can configure the service to run as any user.
The Modify Protection Parameters dialog presents you with a summary of the PN's proposed configuration.
Specify values for the node parameters, then click SAVE to add the node to the list of protected nodes.
Optionally, you can modify the node at any time.
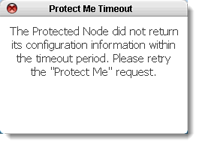
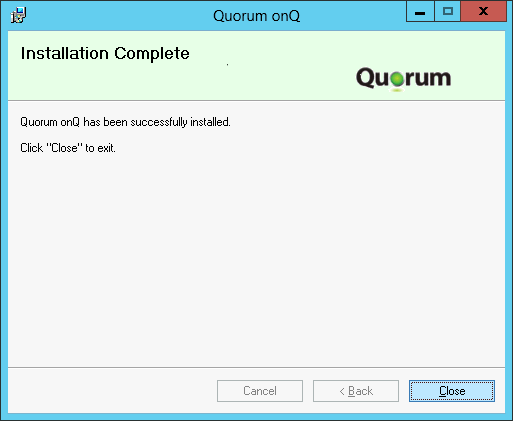
If the installer fails at this point because there isn’t enough disk space, refer to Add protected nodes manually; otherwise, the PN appears in the list.
|
•
|
UDP port 5990
|
|
•
|

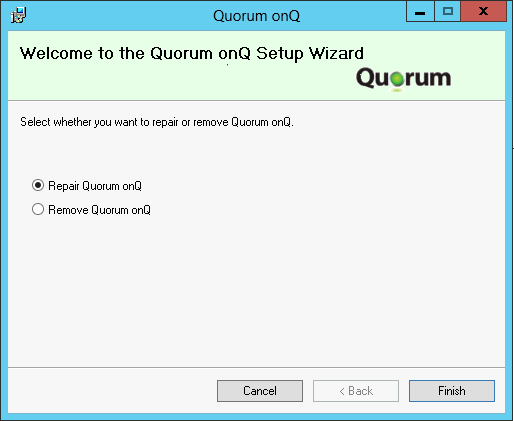
If you perform the enrollment procedure above on a previously enrolled PN, you will be asked to remove or repair the onQ Service; otherwise, the steps to re-enroll are identical. Alternatively, you can simply add the PN manually.