The onQ Appliance uses an X.509 certificate for security. Your onQ Appliance ships with a unique certificate already installed. onQ automatically copies over this certificate to the PNs when you enroll protected nodes and again when you upgrade them, establishing a secure connection between the onQ Appliance and the PNs. The onQ portal’s Connection Status column uses a green padlock icon to indicate a secure connection as outlined in Monitor protected nodes. The certificate has a long expiration.
|
•
|
You experienced a disaster scenario that resulted in you having to change the role of the DR Appliance to HA. In order for the RNs to establish a connection to that DR Appliance, you need to install the DR Appliance’s certificate on those RNs.
|
|
1.
|
Log on to the HA Appliance’s onQ Portal.
|
|
2.
|
|
3.
|
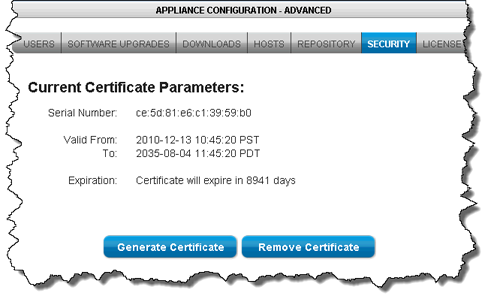
Click Remove Certificate, then Yes to remove the existing certificate on the onQ Appliance. An example certificate is as follows:
 |
|
4.
|
Click Generate Certficate.
|
|
5.
|
Let’s assume that you experienced a disaster scenario that resulted in you having to change the role of the DR Appliance to HA. (If you’re performing a failback, extrapolate). In order for the RNs to establish a connection to that DR Appliance, you need to install the DR Appliance’s certificate on those RNs because the certificate that was originally installed on the PNs is specific to the HA Appliance, which has a different hostname than the DR Appliance, the current acting HA.
To do so, simply launch the DR Appliance’s onQ Portal from the PNs, then re-enroll the protected nodes using the Protect Me button.
onQ automatically installs the certificate that you generate when you enroll protected nodes and again when you upgrade them. However, you can manually install the certificate, if you desire.
|
1.
|
Log on to the HA Appliance’s onQ Portal.
|
|
3.
|
From that PN, launch the HA Appliance’s onQ Portal.
|
|
4.
|
|
5.
|
Click Yes to download the file to the protected node. Your browser saves the file to its default location.
|
|
6.
|