You do not need to initiate an upgrade of the onQ Service on your agent‑based PNs because onQ does this for you automatically and immediately after you initiate an onQ Appliance upgrade and from that point forward if the:
If you hover‑over the DASHBOARD tab > PROTECTED NODES page > RN Status icon, you’ll see messages for the upgrade in progress.
Lastly, onQ sends alerts about the upgrade. If you aren’t a recipient of such alerts, you can generate the Event Log for a given PN; this log shows the coordination that transpired between onQ and the PNs.
There is no way to disable automatic upgrades of the onQ Service. However, you can use the alternative method outlined in (Alternative) To manually install or reinstall agent‑based Windows PN software: if your PNs are in a state that requires a manual upgrade.
|
1.
|
|
Note: By default, wget preserves the original files. Newly retrieved install.py is saved with extensions .1, .2, etc. Use the -r option (see wget man page) to overwrite the existing file.
|
|
# wget -r http://<onQ-IP-address>/install.py
|
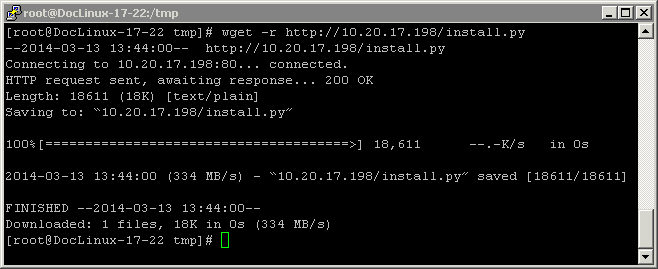
|
# cd <onQ-IP-address>
# python ./install.py
|
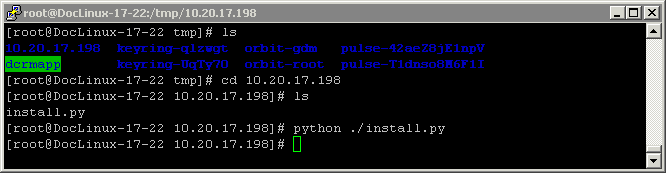
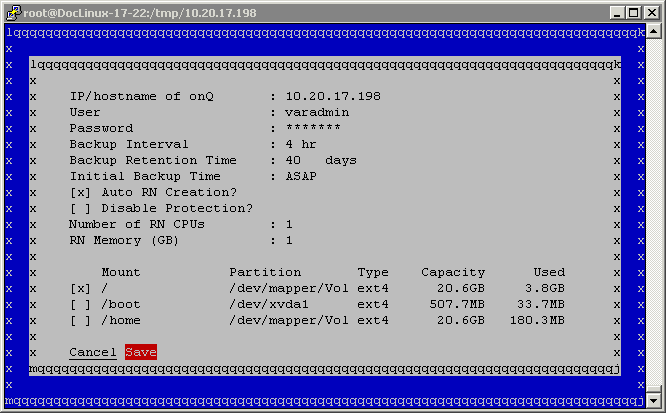
|
e.
|
Specify all valid values in the node parameter fields provided and modify defaults as needed. The install utility lists all available volumes/partitions/mount points.
|
|
•
|
For any Linux PN, you must protect both / and /boot and any other mount points that contain the necessary software to boot the RN.
|
|
•
|
For PNs running RHEL 5.x and due to the known limitation outlined in Linux RN Limitations, set the Format (file system type) parameter for both the root partition (/) to ext3.
|
|
f.
|
|
g.
|
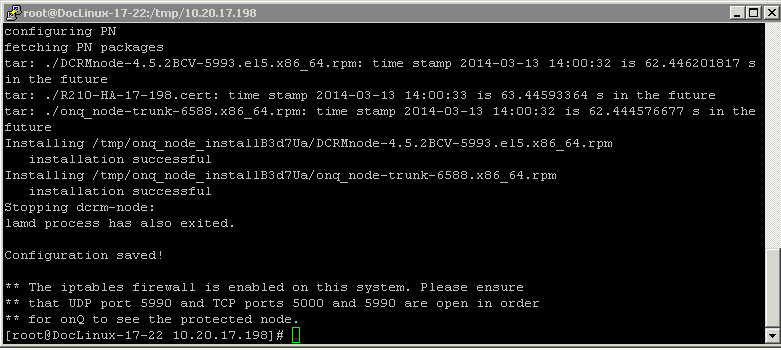
Wait! Do not press Enter. Was the installation successful? Use the error messages below to evaluate the screen output.
|
|
•
|
If no, press Enter to launch the installer UI again. Correct the problem, then repeat Step e through Step g.
|
|
Install utility stops if you type incorrect/invalid values. Correct the problem and Save again or Cancel.
|
|
|
Turn off protection (go to Stop node protection). Press Enter for the GUI’s curser to reappear. Utility preserves all values entered previously.
|
|