Start recovery nodes on DR Appliance or DR Mirror
In the event of a
disaster, you might need to start an individual recovery node, a group of recovery nodes, or all the recovery nodes on the DR Appliance.
Use this procedure in conjunction with the appropriate failover or failback procedures.
When you start an RN, whether agent‑based or agent‑less, you are indirectly shutting down the PN and PN proxy (VM) respectively and disabling backups for that PN.
| Note: So as to avoid network conflicts, if the corresponding PN is already running in production, the onQ Portal will not let you start the RN in production. In that case, the onQ Portal displays the following error message: 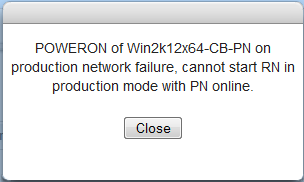 |
It’s possible to allocate resources to recovery nodes beyond what is physically available on the onQ Appliance. If you don’t have enough memory to start all the recovery nodes, you have two choices:
• You can start your recovery nodes individually. The boot order must take into account any
interdependencies.
To start all recovery nodes in production mode:
3. From the DR Appliance, go to DASHBOARD tab > DR STATUS page.
5. Click on the
START All RNs button.
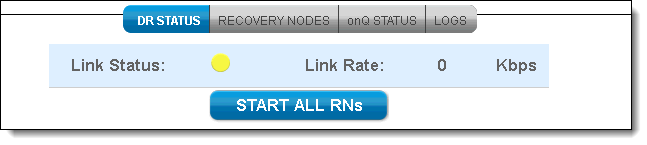
6. Click Apply to start all the DR recovery nodes.
To start a group of recovery nodes in production mode or test mode:
1. From the DR Appliance, go to DASHBOARD tab > RECOVERY NODES page.
3. For the group, click the
Power State (

) button.
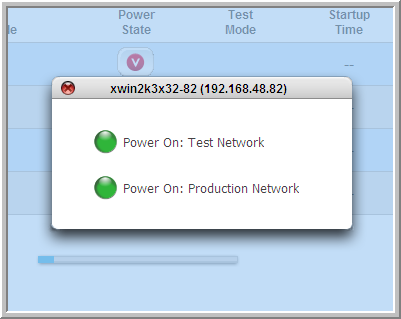
4. Select either Power On: Test Network or Power On: Production Network.
To start an individual recovery node in production mode:
You might be prompted to install application-specific software licenses upon startup of recovery nodes.
3. From the DR Appliance, go to DASHBOARD tab > RECOVERY NODES page.
4. Locate the Power State column.
When you click the button in the Power State column, a box appears that offers you a choice between the following two alternatives: Power On: Test Network or Power On: Production Network.
5. Choose the Power On: Production Network power option.