Step 2: Configure the onQ Appliances
If your onQ Appliance(s) was pre-configured prior to delivery, skip to
Step 4: Connect the Appliance to your network. If you’re an MSP, perform the following procedure on the HA, DR Appliance, and if applicable, DR Mirror.
To configure an onQ Appliance:
Perform the following steps on all onQ Appliances, including the HA, DR Appliance and, if applicable, the
DR Mirror.
1. Use a standalone computer with an available Ethernet port and configure the IP address to 169.254.2.99 and net mask 255.255.255.0.
2. Connect your computer’s Ethernet port directly to Port 0 on the rear of the onQ Appliance.
3. Log on to the onQ Portal with user ID
VARAdmin. Contact Quorum Support for the default password. If you are prompted to clear the EULA acceptance, click
Yes.
4. For security purposes, change both the default
VARAdmin and
Admin passwords. Go to
Change user passwords.
6. Specify local onQ Appliance configuration:
a. Go to APPLIANCE CONFIG tab > onQ (LOCAL) page, then MODIFY.
b. Specify the parameters, including networking information and
onQ Role, then
SAVE.
For examples:
7. Specify remote onQ Appliance configuration:
a. Go to APPLIANCE CONFIG tab > onQ (REMOTE) page, then MODIFY.
For examples:
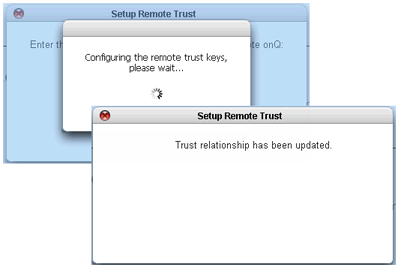
8. Set up the trust relationship.
You must set up the HA‑to‑DR link. If you have a DR Mirror, set up the DR‑to‑Mirror link too. For more information, go to
Set up trust relationships.